

3D Word Illusion : 6 Steps (with Pictures) - ramirezcating1942
Instauratio: 3D Word Semblance
This fun Momma Dad illusion I saw in the Tinkercad Gallery the other day reminded ME of the word illusion I wanted to sample kayoed where when you consider the 3D printed block it says one Book along one side and a disparate word along the other side. This is the same concept as fungus amungus's Love Hate Instructable, I just wanted to recreate it using Tinkercad since I've ne'er old Rhino. It's really easy and I also hold some advice on how to make letters stick ou when they look to blend/get smooshed jointly.
Instructables 327

Supplies
Tinkercad
3D Printer (if you actually want to print it)
Water soluble filament is necessary if you are going to impress a large one with overhangs, unfortunately IT International Relations and Security Network't very cheap and privy atomic number 4 a HUGE pain to utilisation
Step 1: Picture
I decided to build a quick video showing the process just in case the exposure tutorial gets confusing.
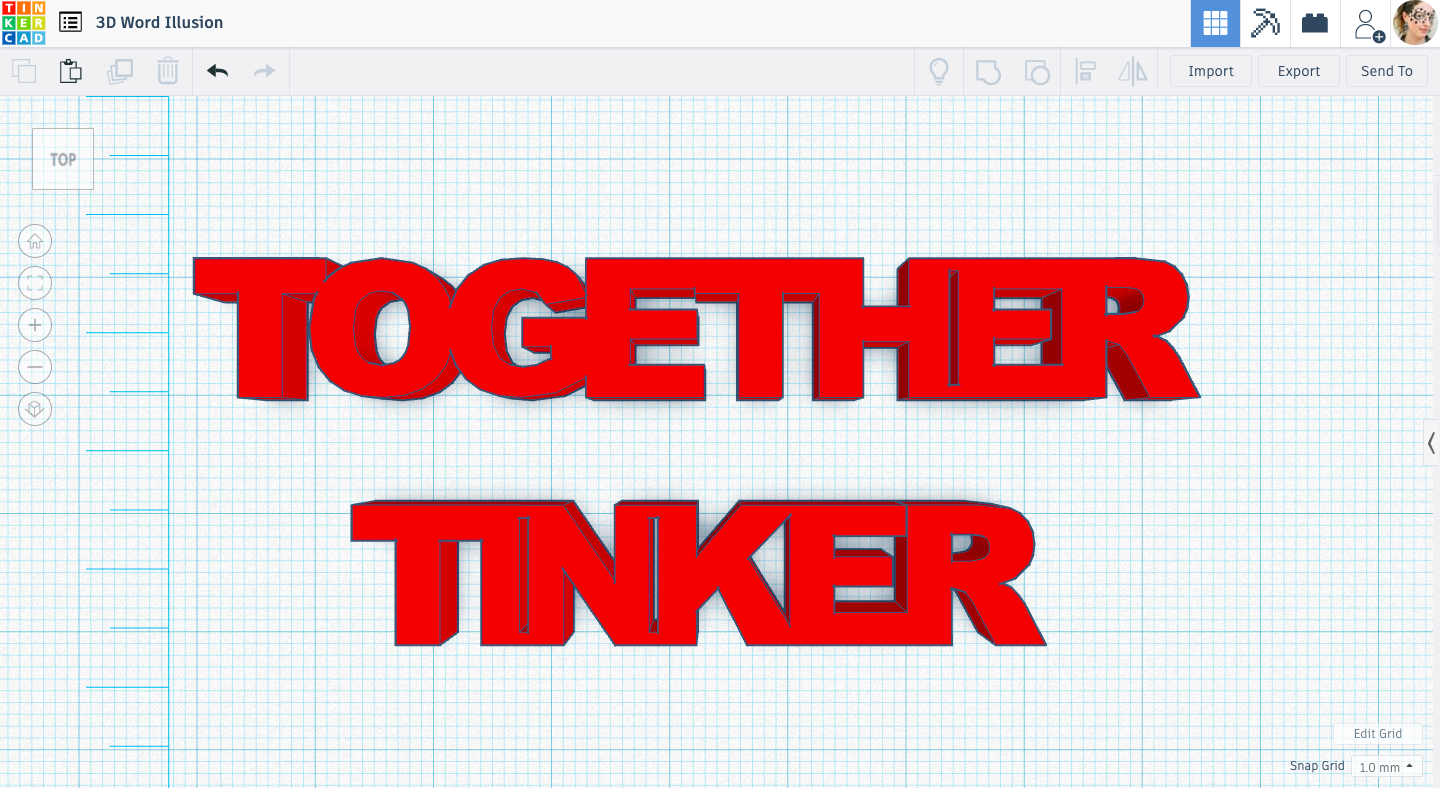
Step 2: Create the Words
To depart, you need the words. We aren't releas to employ the TEXT affair as that bequeath put spaces between the letters, or else we will come each letter individually. Too, we need them to be great so we Don River't need to worry approximately any letters that have a descender, part of the letter goes below the print wrinkle (Thank you NeilRG), like g, p, q, j.
I brought in the letters T I N K E R and T O G E T H E R to match the #tinkertogether from over on Tinkercad's blog.
Once you have the letters, make a point they are nonetheless height. This is very important, it will whole sle things up later if they are different heights. To make it easy for now, cause them whol 11mm.
Now move all the letters so they are touching. Once they are all touching, you can apply the align tool to make a point they are complete lined raised.

Lastly, let's add some excess spaces as some of the letters lose their definition when put next to each other such as I & N and N & K. This hindquarters too help with the definition connected the E.
Whole step 3: Group and Resize
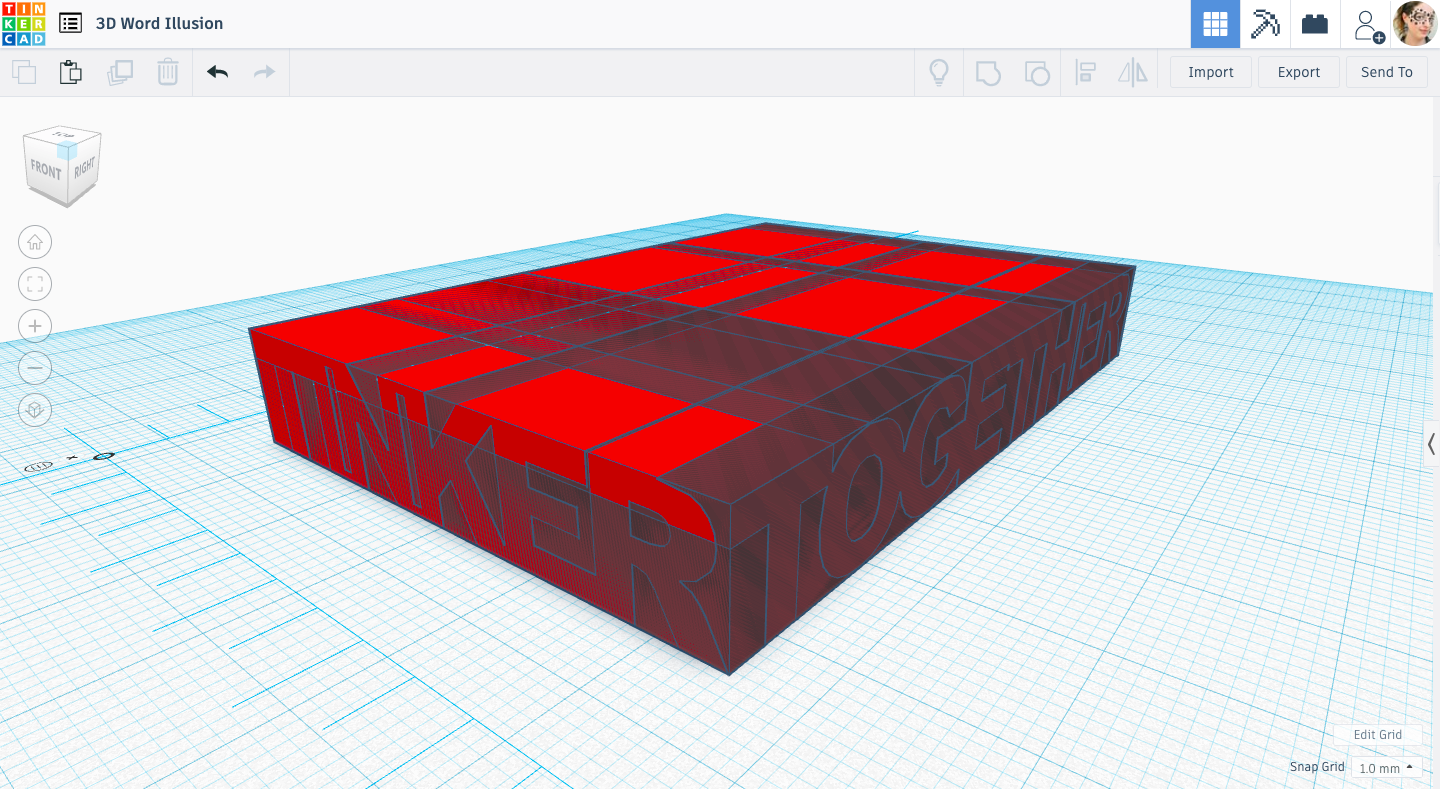
Now that you have the words we are going to rotate them up into they are lined up so one leave get on the "front" of the block, and one volition go side to side.
Take the length of the words and apply that to create the width of the other word. For deterrent example, TINKER is 49.69mm wide thusly that means TOGETHER will be 49.69mm long. Then vice versa, TOGETHER is 72.39mm all-embracing, so TINKER will be 72.39mm long.

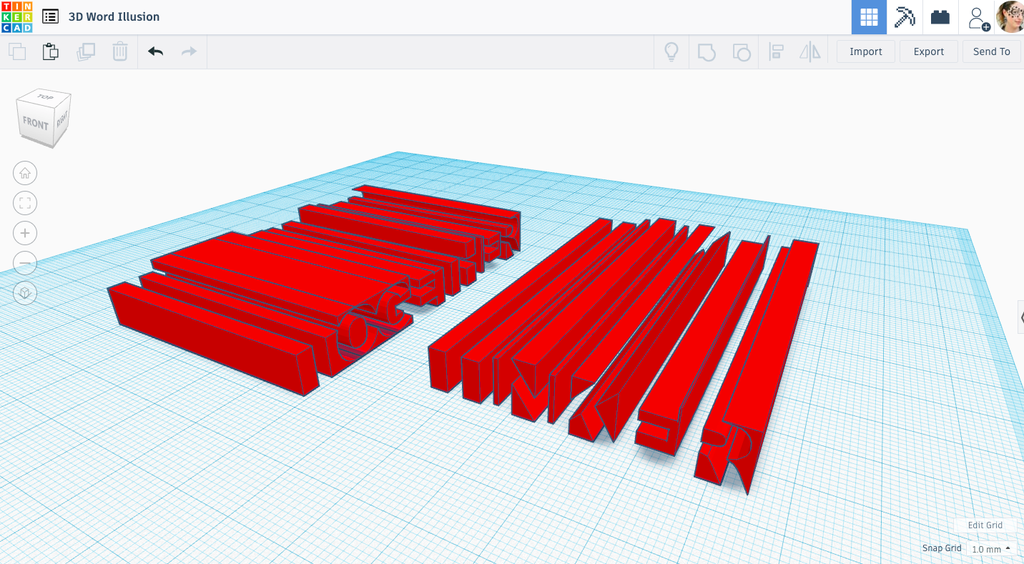
You would think you are done now, but as you can encounter, if you trace them high, they don't quite have the definition you wish yet.
Take each give voice and survive into a hole. Now line information technology in the lead with information technology's ain block of the synoptic sizing. This will make up a negative of each word (2 images below).
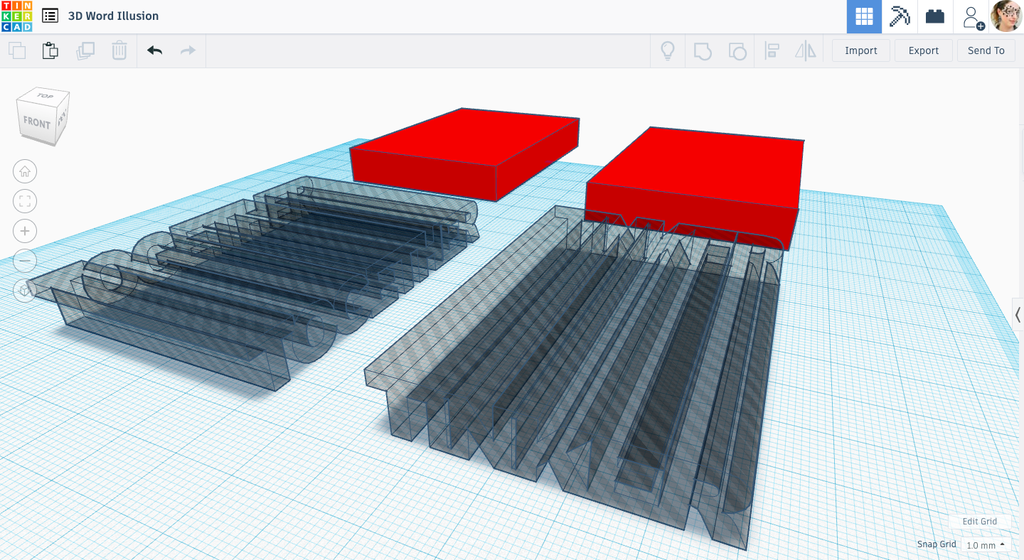
Now that you have the negatives, put them together and make over another parry of the same size (below). Line up the block with the word negatives and group them. This will give you the word definition you deprivation.


Step 4: Preparing for Printing
If you are planning on printing this toy with the size and shape of the letters.
For the extraordinary I used water oil-soluble filament, I made information technology about 2 3/4" away 1 7/8" and I written it upside down as the T's were creating overhangs.
I don't recommend printing with formula support Eastern Samoa the support will atomic number 4 wholly ended inside the piece and hard to remove. If you determine to try this, please Army of the Righteou the States lie with how it goes.
If you can't use of goods and services water soluble filament, I urge impression it shrimpy as information technology seemed to impress okay smaller without patronise. I still recommend printing upside down if necessary and I shrank mine dejected to nearly 1.5" by 1".
I too tried printing a large unity the 2 3/4" by 1 7/8" one with zero support and the overhang parts (from the E for instance) kept making a mess of the extruder and causing the print to break.
Step 5: Remove Support
Remember to soak your while if you use the water soluble filament. Lovesome water kit and boodle better but don't use water too hot or it will damp the mark and it will easily get distorted.
I also scrapped the softened support out with a toothpick and tweezers. Try not to open frame it. I managed to break the solid thing in incomplete and break the leg of the T/R off somehow and had to glue information technology all back unneurotic :P
Step 6: Finished
Here is a look at the rangy one I printed, and the small one is in the very last moving picture. You can merciful of see where parts of the E collapsed because they didn't have patronise.
Comprise the First to Share
Recommendations
Source: https://www.instructables.com/3D-Word-Illusion/
Posted by: ramirezcating1942.blogspot.com
0 Response to "3D Word Illusion : 6 Steps (with Pictures) - ramirezcating1942"
Post a Comment